Using Dodge and Burn in your digital photography - Part Four
After looking at what Dodge and Burn are and how to do it in Luminar and Lightroom, let's take a look at Adobe Photoshop. It's a little more complicated than Lightroom and Luminar if you're not used to layers. But, if you have worked with Photoshop before you might find it easier than you think.
Adobe Photoshop
As I mentioned before there’s no one right way to dodge and burn. Your methods will depend on the type of software you use and what works best for your skills and needs. Photoshop is another popular editing software that can greatly enhance your images beautifully, but it can be a little confusing if you are not used to working with layers and blend modes.
Dodge and Burn with Curves
Dodge & Burn with Curves in Photoshop
Yes there is a dedicated dodge and burn tool in Photoshop, but I think there is a much easier, non-destructive way to Dodge and Burn. I have found that using Curves or even 50% gray layers (which I will cover next) is far less destructive and much easier to work with.
Add two curve layers, and label one Light and the other Dark. Increase the highlights on the Light layer and decrease the shadows on the Dark layer. Now add a black layer mask and a white brush set to perhaps 50% paint in the highlights only on the Light layer and then the shadows on the Dark layer.
You can adjust the opacity of the layer as required, or indeed adjust the curve as needed. Super easy and as you are only painting in what is really already there, it's pretty hard to make a mistake.
Dodge and Burn with 50% Gray
Dodge and Burn with 50% Gray
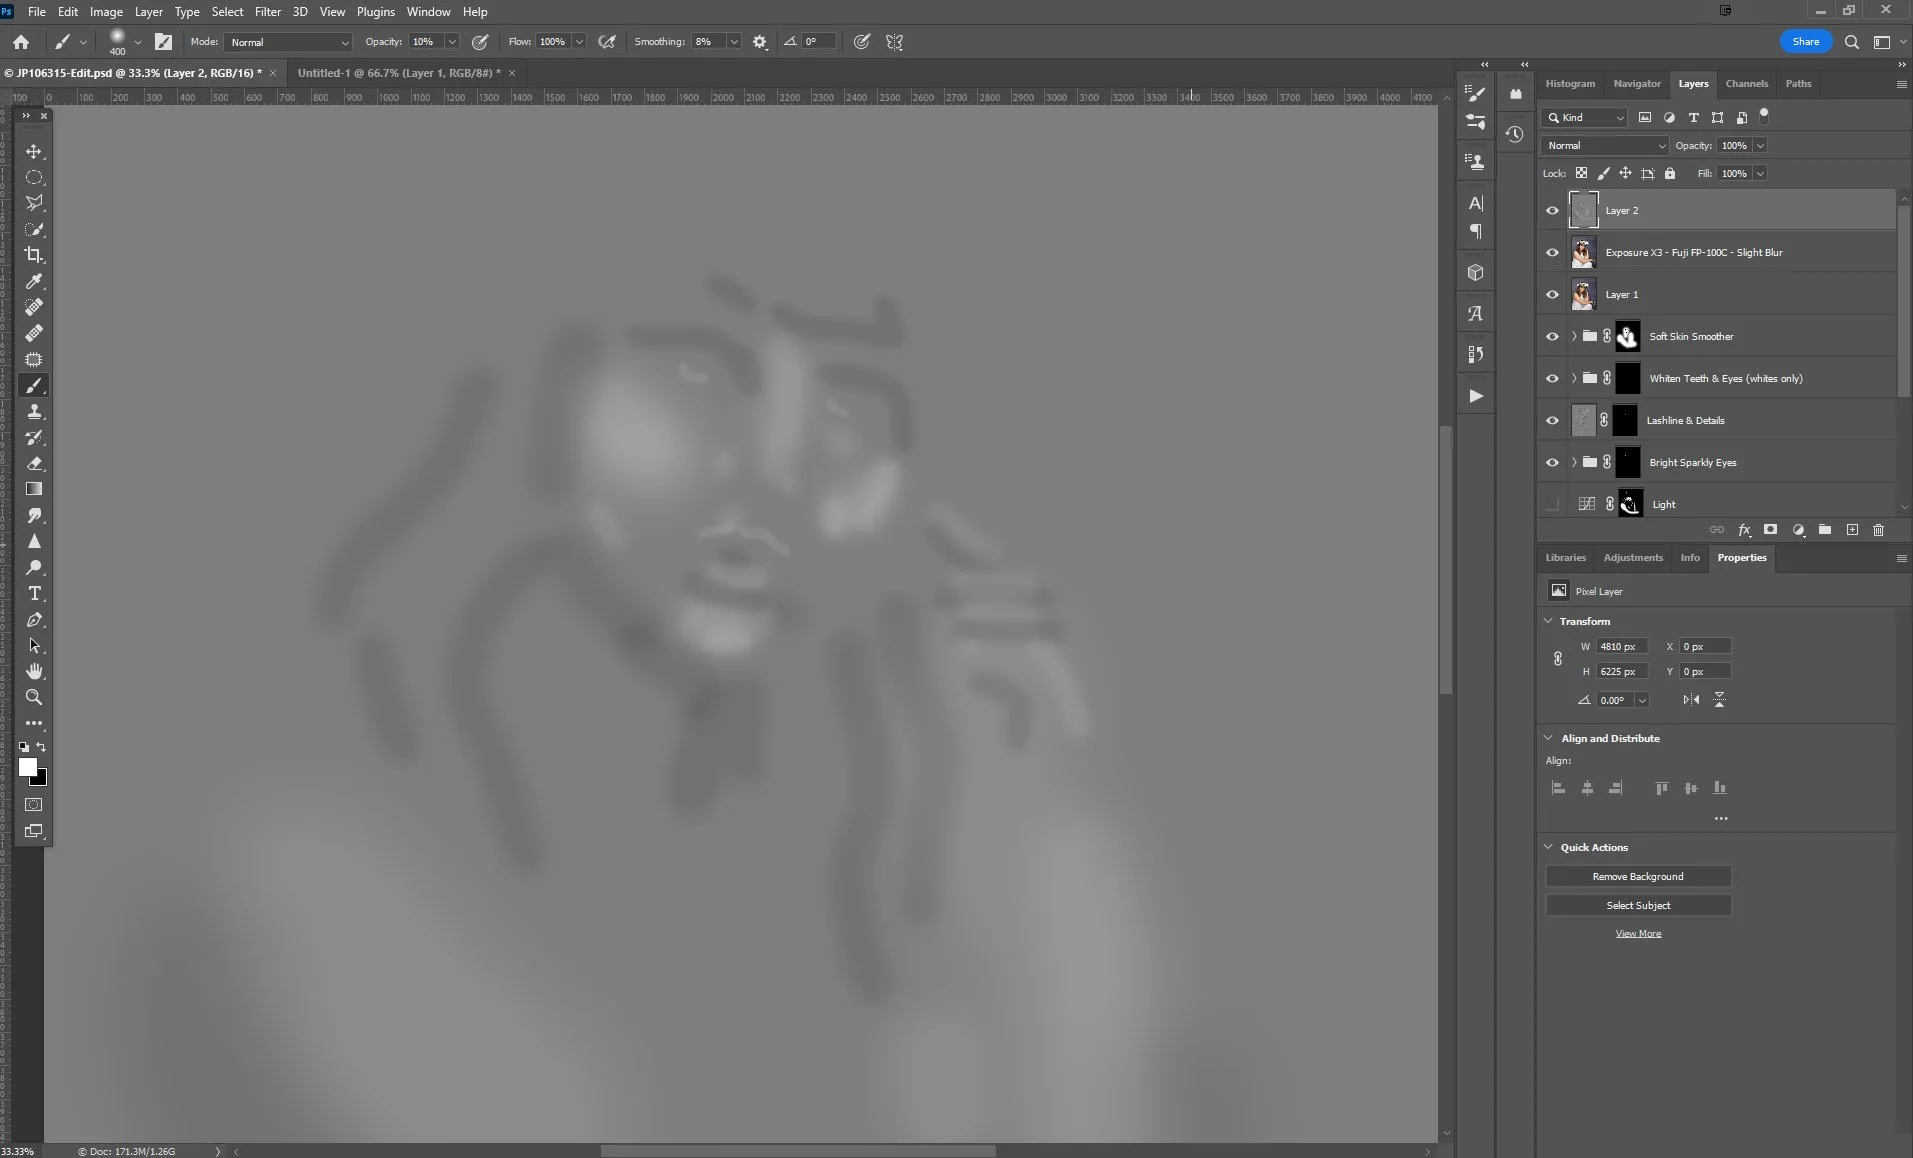
The other option is using a 50% gray layer set to opacity and painting with a white or black brush the highlights and shadows. Press Ctrl + Shift + N (Windows) or Cmd + Shift + N (Mac) to bring up a new layer panel. Change the mode to Overlay and select Fill with Overlay-neutral color (50% gray). I suggest reducing the opacity of the brush to about 10%. You can paint both black and white on the same layer or create a separate layer for each. This is how it looks when the layer mode is changed back to Normal.
Layer mode set to normal
Let's break it down further
Let's take a little look inside Photoshop and how each of these methods can enhance your photos
Using Dodge and Burn in Photoshop
Which is my preferred method for Dodge and Burn?
I prefer the curves layers myself, as there is less chance of making a mistake. With the 50% Gray layer, you are painting over areas that could actually be shadow instead of highlight by mistake and end up altering features you did not wish to. With the standard Dodge and Burn tool, it is destructive and easy to make a mistake. Sure you can undo it, but it is sometimes easy to miss until it's too late, then you need to delete that layer and start again. Assuming you did it on a duplicate layer and not the original!
With a bit of practice, I have found this method to be the quickest and easiest one by far. I even have an Action that I use to set up my curve layers. You can purchase a copy of my Portrait Retouching Actions here, great value at only AUD$5.00 for the whole set.
There are other programs and other ways to use Dodge and Burn, but hopefully, I have given you an insight into creating this for yourself, in a variety of programs.


